News blog - artistravel international
Painting a Landscape - The Lakefront
Painting a lakefront can quickly become an overcharging procedure for beginners. In order to do it better than the others, try the following: After separating the water area from the riparian area, it is time for the necessary final touch. You have to work out the shadows of the lakefront with a darker shade of colour. If you don’t do that, the lake might just look like a huge puddle.
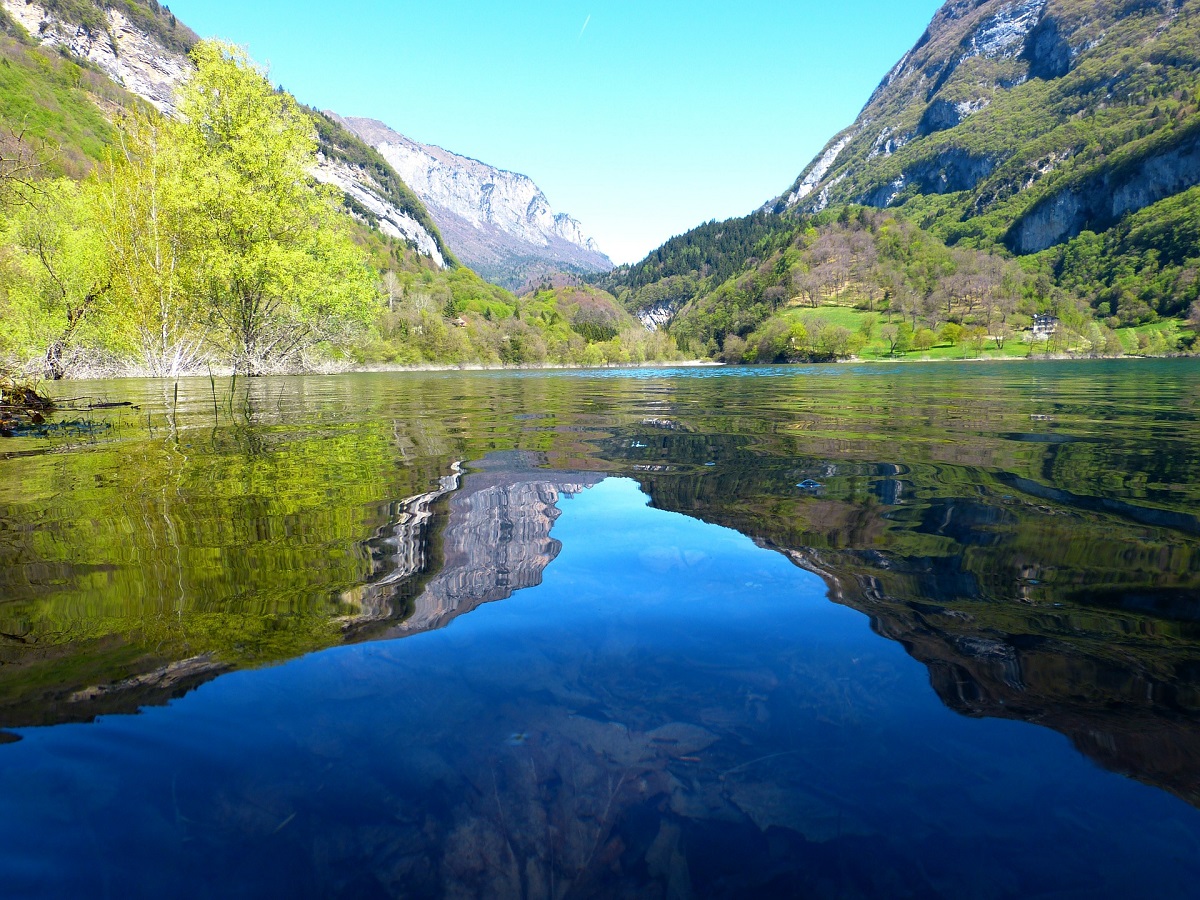
However, the lakefront still seems a little stiff now. To loosen the borderline between the two areas, you can put hassocks and individual grass blades along the lakefront, for example by dabbing or setting fine and short brushstrokes. It is important to repeatedly change the colour of the grass with regard to its green shades: depending on the directions into which a grass blade is bending, it has a lighter sunny side and a darker shadowy side. The next step is the crucial one: the reflection of the lakefront on the water surface.
If you take a look at your first paintings of lakes, you will see that the water is almost solely kept in blue and green shades. The riparian area might look the same. It is easily forgotten that the colour of the water mixes with the colour shades of the riparian vegetation. Here is our tip: Paint little grass blades inside of the water, too. They may appear a little more blurred than the other grasses. The colour shades can also be a little more muffled, so that the viewers clearly recognise that these grasses are only projections on the surface of water. That’s how you can quickly get a realistic lakefront.
Posted in Creativity, Travel, Painting on Apr 10, 2020


