News blog - artistravel international
Step by Step Flower Painting Demo by Angela Corben
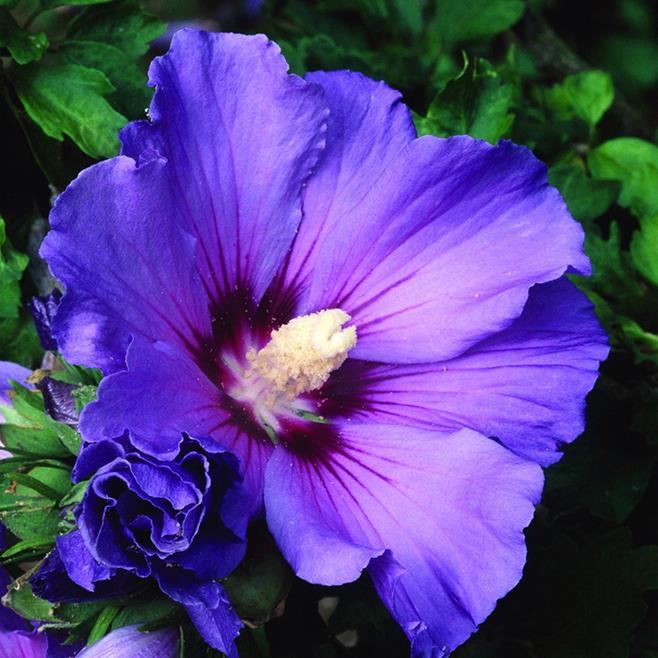
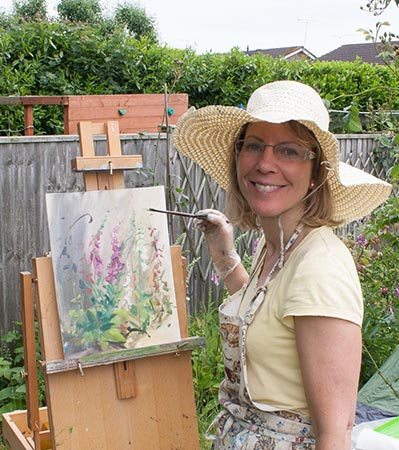
Flower paintings are pretty, colourful and very decorative. But what beginners usually don't expect is that Flowers are mostly relatively easy to paint! Therefore, they are the perfect motif for a good start. In this little step by step painting demonstration our professional painting tutor Angela Corben, who is at the same time leading the beautiful New Forest Art School in the UK, will show you little tips and tricks on how to paint a shiny Hibiscus Flower while using Acrylic paint.
Material:
Atelier Interactive Acrylic paints on Atelier Interactive 360gsm paper
- Cerulean Blue
- Ultramarine blue
- Phthalo Blue
- Quinacridone Red Violet
- Titanium White
- Mixing (Zinc) White
- Burnt Sienna
- ‘Slow’ Dry - Acrylic medium

Stage 1: Draw out the Flower, using an HB pencil on Acrylic painting paper. Use a star shape diagonal grid and locate a petal edge on each axis, to get your bearings Lightly draw the stamen in the centre to help to orientate the petals’ locations Draw a few silhouettes only, of the main leaves which you can see in the background.

Stage 2: Re-define the petals. Outline using diluted Cerulean Blue and a round brush ‘Block in’ the background leaves. Identify the darkest ‘negative shapes’ and paint these loosely, using a medium Filbert brush and a mix of Phthalo Green + Burnt Sienna ‘Block in’ the medium Greens; using a mix of Ultramarine Blue and Lemon Yellow. Paint the lightest leaves, using a small round brush, being more precise now, with thicker paint, using Lemon Yellow and Cerulean Blue and a touch of Titanium White as required.

Stage 3: – NB use Slow Dry medium with your paint Model the petals from the inside out, using a broad (no. 10) soft Filbert brush, and directional sweeping strokes from the centre of the flower arcing out. I used Cerulean Blue and a speck of Ultramarine Blue and a little Mixing White Whilst the paint is damp, deepen the mix using more Ultramarine Blue in the blue mix. Blend on the painting.

Stage 4: Define the circular centre of the flower, using a thin mix of Quinacridone Red Violet and a speck of Ultramarine Blue. Sweep the paint up and outwards from the centre to suggest a ‘bowl’ like shape. Using a fine round brush (no.3), carefully paint the Red/violet ‘flame’ like shapes tapering outwards to follow the contours of the petals.

Stage 5 - final stage: Deepen and add depth to the centre, with a mix of Ultramarine Blue and Quinacridone Red Violet. Paint careful tapered threads of bee lines, running along the contours of the petals. Paint the stamen using Cerulean Blue mixed with Titanium White at the base. And taper these outwards to sit amongst the Red Violet centre. Using the tip of a loaded round brush, paint the stamen, with Titanium White. To finish off, re-define the petal edges and background, so that the top petals are the last careful edge to be painted.
Want to learn more? Don’t miss the opportunity to get some more great tips and tricks from Angela Corben during her wonderful painting holiday in South West France: https://www.artistravel.eu/en/tour/2019/08/painting-holiday-in-south-west-france
Find out more on: www.angelacorben.com or newforestartschool.co.uk
Posted in Artists, Creativity, Travel, Painting on Dec 17, 2018


